Introduction
Running a local business like a café, homestay, or restaurant means you rely heavily on word-of-mouth and repeat customers. But in a competitive market, how do you keep your customers engaged and bring them back? Many owners try ads or discount promotions, but often miss one of the most powerful free tools: Facebook Groups.
Creating your own group is not just about posting updates. Done right, it becomes a loyalty hub—a place where customers feel part of your story. In this guide, you’ll learn how to make a group on Facebook in a simple, practical way that directly supports your business goals.
.webp?width=1536&height=1024&name=how%20to%20make%20a%20group%20on%20facebook(4).webp)
Core Steps to Create and Use a Facebook Group
1. Set Up Your Group with the Right Foundation
Go to your Facebook homepage → left sidebar → “Groups” → “Create New Group.”
-
Choose the name: Use a friendly, clear name like “Bali Coffee Lovers – Brew & Chat”.
-
Select privacy: For businesses, a private group works best—people feel safe sharing experiences.
-
Add description: Tell members what they can expect, e.g., “Weekly coffee tips, local events, and exclusive member deals.”
💡 Example: A homestay in Cebu creates a group called “Travelers in Cebu – Stay & Explore”, instantly connecting with potential guests.
.webp?width=1024&height=1024&name=how%20to%20make%20a%20group%20on%20facebook(2).webp)
2. Personalize and Brand Your Group
A group without identity feels abandoned. Add:
-
Cover photo: Feature your logo, shop, or even your team.
-
Welcome post: Pin a message explaining the group’s purpose and encouraging members to introduce themselves.
-
Rules: Keep it simple—e.g., “Be respectful,” “No spam,” “Stay on topic.”
💡 Example: A restaurant in Kuala Lumpur posts weekly “dish of the week” polls—customers love voting, and the winning dish gets a discount.
.webp?width=1536&height=1024&name=how%20to%20make%20a%20group%20on%20facebook(3).webp)
3. Grow Your Group with Smart Invitations
Don’t just invite everyone—be intentional:
-
Start with loyal customers: Send a personal invite or QR code at checkout.
-
Cross-promote: Add your group link on receipts, menus, or WiFi login pages.
-
Partner locally: A café can collaborate with a nearby yoga studio for cross-invites.
💡 Example: A homestay owner places a QR code in each guest room. Guests scan it, join the group, and share photos of their trip, attracting future bookings.
.webp?width=1536&height=1024&name=how%20to%20make%20a%20group%20on%20facebook(1).webp)
4. Keep the Group Active and Valuable
A silent group quickly dies. Keep it alive with:
-
Exclusive offers: “Group members get 10% off pastries this week.”
-
Behind-the-scenes content: Show how your team prepares, decorates, or experiments with recipes.
-
Events & polls: Announce tasting events, run fun challenges, or let customers vote on your next menu item.
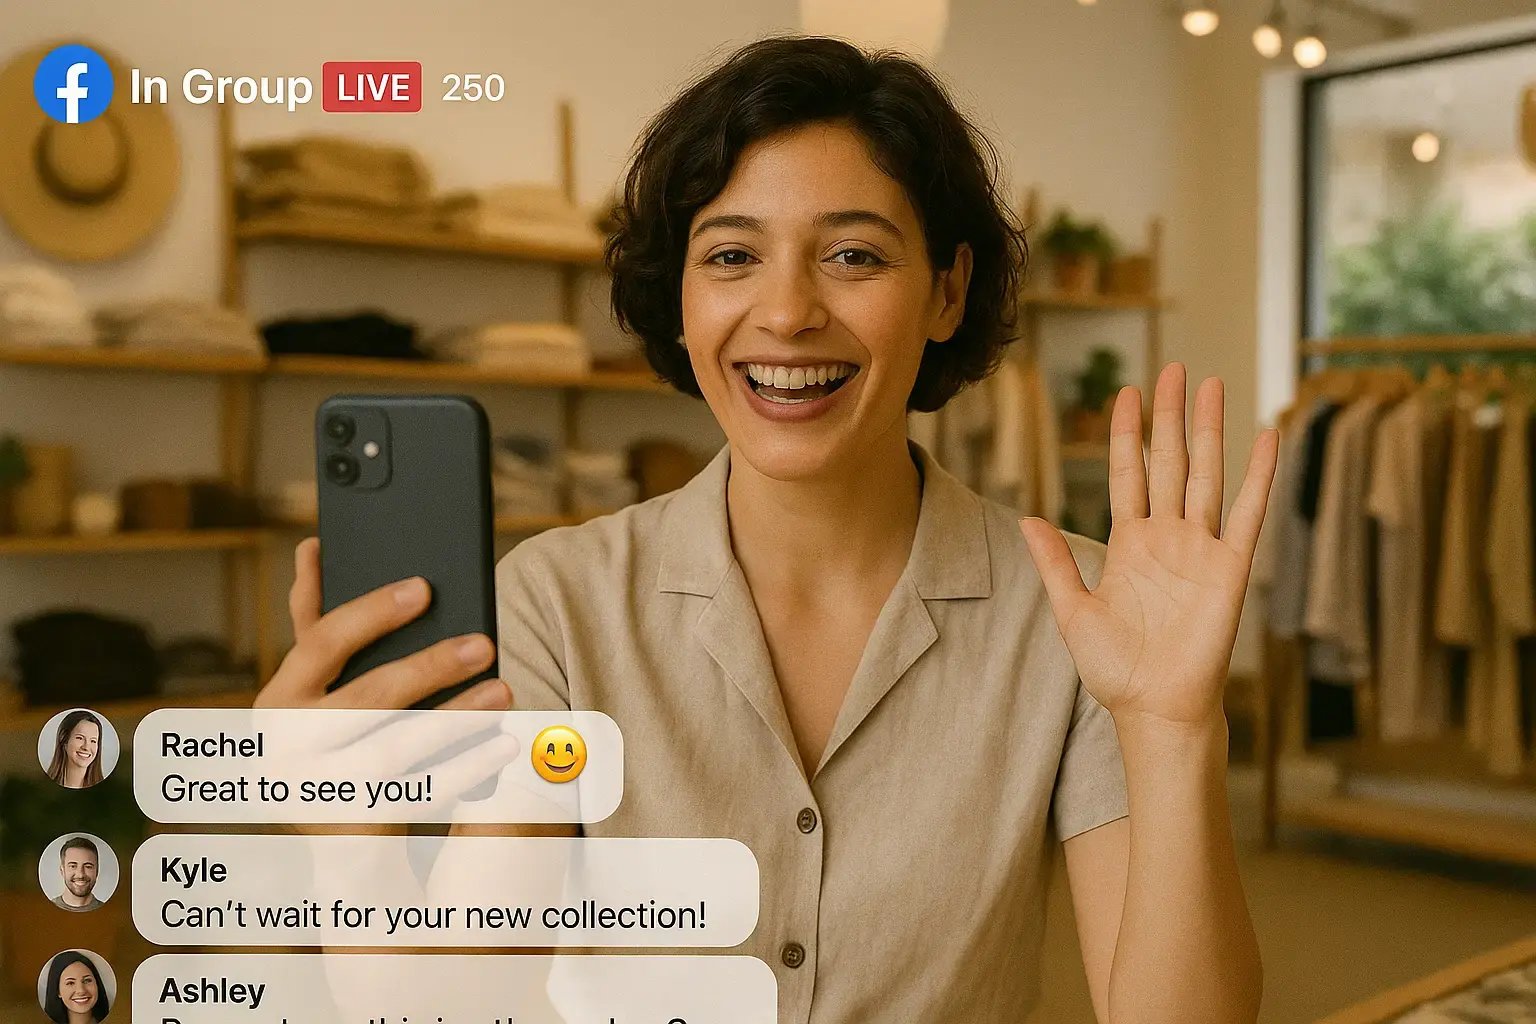
💡 Example: A restaurant hosts a monthly “members-only” Facebook Live cooking demo, keeping fans engaged even when they aren’t dining in.
Common Mistakes to Avoid
-
Treating the group like an ad board – Constant sales posts push people away. Focus on community first, sales second.
-
Ignoring members’ contributions – Customers love to share photos, feedback, or questions. Always acknowledge and interact.
✔️ Pro Tip: Think of your group as a café table conversation—participate, don’t just promote.
A well-managed Facebook Group is more than just an online page—it’s a community space where your customers feel seen, heard, and valued. For small businesses in Southeast Asia, this can mean stronger loyalty, more repeat visits, and organic growth without expensive ads.
👉 Ready to take your first step? Book a free consultation with RedSparks today, and we’ll help you create and grow a Facebook Group that truly supports your business.
.webp)
.webp)
.webp)